


Also known by names like the Yoga Squat, Excretion pose, Relieving pose, this pose is often confused as the Garland pose. The huge mistake is due to transliteration (reading and pronunciation difference) that happened from Hindi to English, when yoga was taken to the west. It is actually, Ma-laa-sa-na, meaning the excretion pose, referring to the traditional method of waste elimination in India, as intestines are in best position to release when sitting in this pose.
The pose is also known as the squatting version of Namaskarasana.
Contents
Health Benefits
The focus of this pose is mainly the lower body (thighs). However, apart from strengthening the legs, it contributes towards a flat belly and firm hips. The pose is highly effective opening hips, stretching the groin and ankles. It is also known to regulate bowel movements and cure problems flatulence, indigestion and constipation.
Getting in the pose
What you need: Room with fresh air (if you’re doing it inside, otherwise do it in open area), and you.
Difficulty Level: Beginner
Initial Position: Stand with your feet shoulder width and hands on the side, palms turned inside.
Drishti or Gaze: While performing this pose, concentrate your gaze in front.
Steps:
- While you get into the starting position, inhale deep and bring your hands in Namaste position or Anjali Mudra. Do so while spreading your arms high up in air, making the gesture above head, and then bring it closer to your chest.
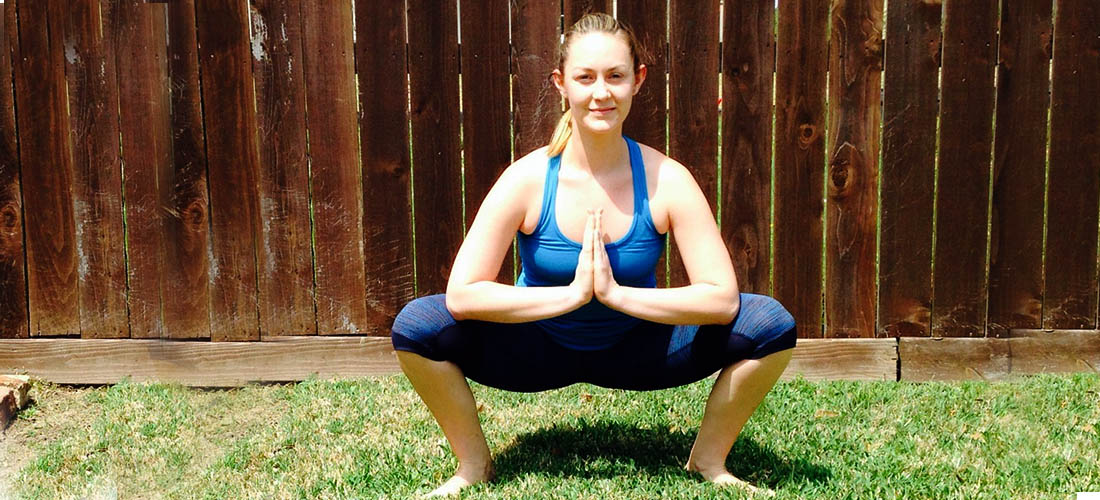
- Gently bend your knees and hips, while balancing weight. Keep bending till you can. The ideal position is 4-5 inches above floor. Your hands now should be a little away from your body.
- Hold the position for 15-30 seconds as a beginner. Later you must hold it even longer, say a minute or more. Breathe in once.
- Gently exhale and revert to the starting position. Do it twice in a practice along with other poses.
If you feel exerted, rest in Child’s pose.
Other variations
- Iyengar yoga: See the beginner tip below.
- To add to the difficulty level and further strengthen lower body, try balancing weight on toes. One can also add on the upper body strengthening and stretching in this pose by extending out arms as you squat. This will tone your shoulders and back.
- Alternatively, this pose can also be done with a dumbbell to increase the intensity and work on the hand grip.
Prepartory poses
- Cobbler’s pose (Baddha Konasana)
- Hero Pose (Virasana)
Beginner’s Tip
Since its a hip opening pose, stretching all the way to the floor can be difficult in beginning. Try getting into half the pose with support from the wall.
Advanced Poses
- Downward Dog Pose (Adhomukh Svanasana)
- Forward Bend Pose (Uttanasana)
Important Notes
- This is a Vinyasa yoga pose and hence, movements must be synchronized with the breath. That way, you strengthen your internal as well as external system simultaneously.
- Those with issues of knee injuries should not perform this pose.
- Though this pose is used as a warm up pose for the advanced versions, it would be helpful if you shook your body a bit for 5 minutes before getting into this pose. Warm up first!
Further Reading:
Comments are off this post!