


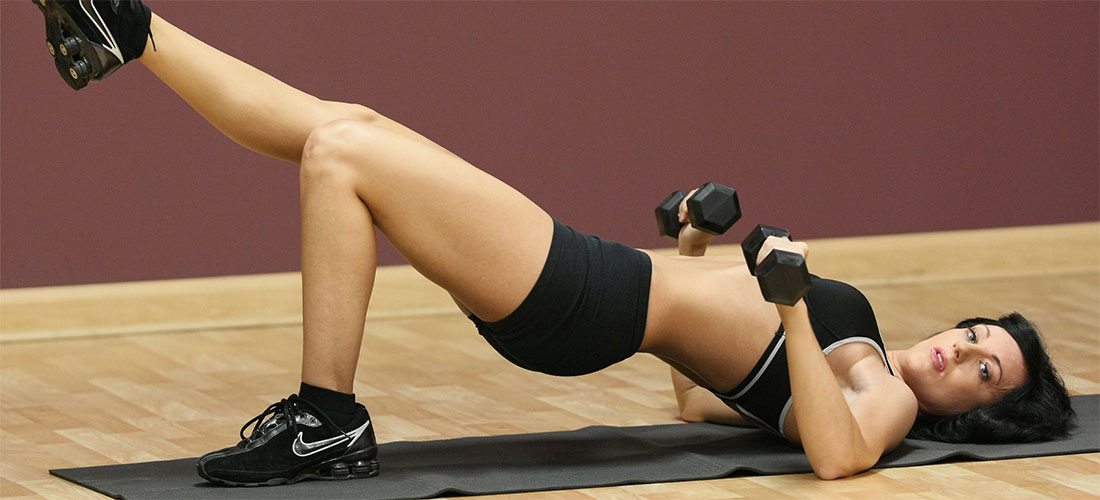


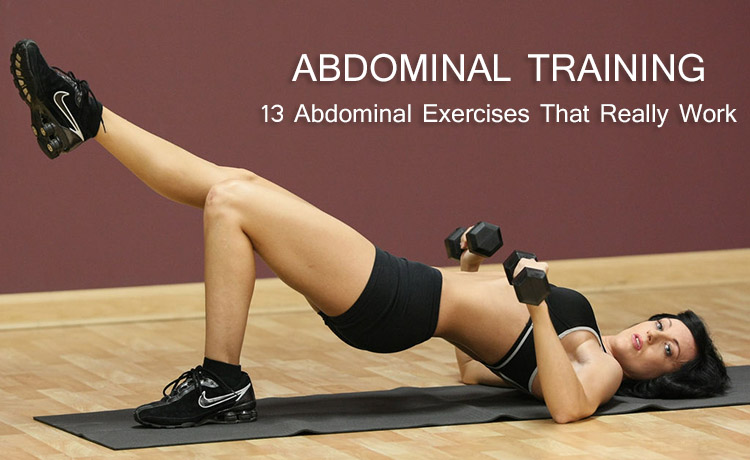
In our “13 Abdominal training exercises” series, this is the last post – the last 13 exercises to strengthen your core.
The previous two have been:
Although, as a fitness enthusiast, you must know that this is just a beginning. So, let’s begin…
1. Starting position: Begin lying on your back with your knees bent. Your feet should be shoulder-width apart.
- Action: Perform the pelvic tilt, and flatten your back onto the floor. Next, perform the abdominal hollowing action, pulling your tummy button in. Finally, reach forwards with your fingers towards your heels, so that your trunk bends and your shoulders lift from the floor.
- Points to note: The action of this exercise is to bend the trunk, not to sit up. The bottom part of the shoulder blades should stay in contact with the ground throughout the movement. As you perform the abdominal hollowing action, breathe out. Breathe in as you release the movement.
- Training tip: Reaching forwards (along the ground) towards the heels, rather than upwards for the knees, encourages the correct trunk bending action.
2. Starting position: Begin lying on the floor on your back with your knees bent, feet flat. Your knees and feet should be about 20-30 cm (8-42 inches) apart.
- Action: Abdominal hollow to tighten your abdominal muscles, and then reach past the outside of your left knee with your right hand. At the same time, pull the left side of your pelvis towards you. Pause, and then reverse the action, reaching to the right.
- Points to note: The aim of this exercise is to tone ‘the oblique’ abdominal. To achieve this, the lower part of the trunk must take part in the action, so the hip pull is essential to the exercise.
- Training tip: To emphasise the hip pull action, initially ask someone to press onto your hip as you pull. This will make isolating the action easier. Remember to lift only one hip at a time!
3 Starting position: Lie on the floor, and draw your knees up to rest above your hips – feet off the floor – moving one knee at a Lime. You can place your finger-tips on either side of your lower abdomen below your tummy button to feel the muscle.
- Action: Tighten your tummy muscles to hollow your abdomen, and maintain this muscle contraction throughout the exercise. Slowly lower one leg, keeping it bent, until your foot touches the floor. Raise the leg and, when it is in the starting position again, begin to lower the other leg.
- Points to note: The foot should be lowered directly down-wards, keeping it close to the buttocks. Do not allow the leg to straighten, as this makes the exercise considerably more intense.
- Training tip: Monitor the position of your tummy, and pelvis with your fingertips. If you feel your tummy bulging (‘ballooning’) rather than staying flat, or if you feel your pelvis move, stop the exercise.
4. Starting position: Sit on the floor with your knees hip-width apart and bent, and feet flat (the crook or hook sitting position). Straighten your back, bracing your shoulders back slightly into the V sit position. Hold your arms to the sides of your knees, palms facing inwards.
- Action: Tighten your tummy muscles to hollow your abdomen, and maintain this muscle contraction throughout the exercise. Straighten your right leg keeping your left foot firmly on the floor. Hold the straight leg position for 5 seconds, and then lower. Repeat the action with the left leg.
- Points to note: As you straighten your leg, maintain the hip angle so that the leg is held at 45 degrees to the mat. Lowering the leg towards the mat increases the leverage effect on the leg, and makes the action considerably harder.
- Training tip: There is often a tendency to bend (flex) the spine with this action. Try to maintain good spinal alignment throughout the exercise.
5. Starting position: Begin lying on the floor on your back. Your arms should rest on the floor (palms down) . Bend your knees and hold them up onto your chest.
- Action Bend your spine to lift your tailbone 3 cm (11 inch) off the ground, at the same time ptiliing your knees upwards towards your shoulders.
- Points to note Do not lunge into the movement using the momentum of your legs. The action should be a gentle raising of the lower spine, with the power of the trunk muscles lifting the inactive legs.
- Training tip Press down hard with your straight arms onto the floor as you flex your lower spine. If you find you are unable to lift your body, reach your arms overhead to hold on to a piece of gym machinery. Be cautious, however, because by fixing the arms in this way you are able to lift your body further – keep your mid-back on the floor.
6. Starting position Begin lying on the floor on your back. Place your calves on a low chair or stool so that your knees and hips are bent to 90 degrees. Your feet and knees should be 20-30 cm apart.
- Action Slowly sit forwards, as though tying to touch your chest flat on your thighs.
- Points to note This is an advanced exercise, as such, you may not be able to lift much forwards to begin with. Do not speed up in an attempt to sit up, This will simply increase the momentum of your hunk, but will not work the abdominal muscles substantially harder.
- Training tip Try to bend your trunk as you begin to sit forwards, to shorten the abdominal muscles. Do not attempt this exercise until you can comfortably perform ten repetitions
7. Starting position Begin lying on the floor on vour back. Place your calves on a low chair or stool so that )our knees and hips are bent to 90 degrees. Your feet and knees should be 20-30 cm (8-42 inches) apart. Fold your arms lightly, keeping your elbows bent to 90 degrees.
- Action Sit up, & try to reach your right elbow . Get back to the floor and again sit up, reaching with your left elbow.
- Points to note make sure that the exercise is done slowly, under control. A rapid action will liable you to sit up further, but only through momentum.
- Training tip Exhale as you sit up, but rest after each pair of oblique crunches, breathe normally so you do not get dizzy.
8. Starting position Lie on your back. with your arms sideways in a relaxed manner.
- Action Allow your knees to slowly form an angle of 30 degree vertical, then get the knees back to mid position & repeat the action.
- Points to note Breathe normally. do not hold your breath.
- Training tip If you cannot lower your knees to the ground, place a cushion on the floor at either side of your hips. Lower your knees onto the cushion to begin with, rather than right down onto the floor.
9. Starting position Begin lying on your back with your knees bent, and feet flat on the floor (crook lying position). Your feet should be shoulder-width apart. Find the neutral position of your back, and maintain this throughout the exercise.
- Action Perform the abdominal hollowing action anti then tighten your buttock muscles and hit ) hips 10 cm (4 inches) from the floor.
- Points to note The lower spine must stay in its neutral position, so make sure that you don’t lift too high ()I y spine will arch. Your shoulder, hip and uppri leg should be in line.
- Training tip Allow the squeeze of the buttock muscles to lead the movement and lift you, rather than leading with your stomach.
10. Starting position Lie with your shoulders on a gym ball and your feet shoulder-width apart.
- Action Tighten (hollow) your tummy and raise your hips from the floor to the horizontal position. Hold this position for 3-5 seconds and then slowly lower.
- Points to note You must make sure that you keep your tummy tight throughout the action and avoid allowing your back to hollow excessively.
- Training tip If you find it difficult to lift into the position, begin with your hips on a block or low stool and raise from here. The gym ball is an unstable surface and this makes your trunk muscles work harder to maintain your own core stability. However, until you get used to the exercise you can stop the ball from rolling by placing it on a ball ring, available from gym ball suppliers.
Note: The gym ball is slightly too large for the subject. Try to use a ball which is the same height as your knee.
11. Starting position Lie on your side on a gym mat. Place your feet together mid keep your legs straight. Prop your-self up on your underneath forearm, and tighten (hollow) your abdomen.
- Action Raise your body so that your spine is straight Ind you are just balanced on your feet and underneath forearms.
- Points to note The underneath side trunk muscles (obliques) are working in this exercise together with your deep corset muscles.
- Training tip Make sure you broaden your shoulders as you lift so that you don’t feel that they are ‘bunched up’. If you perform this exercise in bare feet, place your top foot in front of your bottom foot.
12. Starting position Lie on a mat with your knees bent and slightly apart. Place your hands on the handles of the ab frame and your head on the headrest. Tighten (hollow) your abdomen.
- Action Curl the trunk while resting your head gently on the machine head-rest. Hold for 1-2 seconds in the upper position breathing normally, and then slowly lower.
- Points to note The aim of the ab frame is to assist the movement and maintain good alignment. Make sure that you keep your head on the headrest and use only enough hand pressure on the frame to enable you to perform the action smoothly. If you find yourself pushing back hard onto the headrest, allow your neck and upper spine to bend a little and look through your knees.
- Training tip As you get tired, you will need to use more hand pressure on the frame. When this happens, make sure that you keep the movement slow and controlled, avoiding any jerking actions.
13. Starting position Begin kneeling on a mat with your shoulder directly above your hand and your hip directly above your knee. Tighten (hollow) your abdomen.
- Action Raise your right leg to the horizontal. Hold this position and then raise your left arm towards the horizontal. Hold the arm/leg position for 3-5 seconds and then lower. Repeat the action using your left leg and right arm.
- Points to note Make sure you maintain the neutral position of your spine and a gentle tightness in your abdominal muscles throughout the action. Do not allow your spine to sag or your tummy to ‘balloon’. This exercise is also called the ‘birdog’. •
- Training tip If your shoulder is quite tight, you may not be able to lift your arm to the horizontal initially. With practice, your arm will lift higher as you gain shoulder flexibility.
Also Read: 9 Abdominal Training Postures You Must Follow Strictly
Comments are off this post!